
All you need is a piece of fabric, some wax, and a little time. The result is a practical food wrap you can use again and again.
A wax wrap can replace single-use plastic wrap or plastic bags. Use it to wrap bread, fruit, vegetables, cheese, or your entire lunch. You can also use it to cover a bowl or a jar.
The best part? You can choose your own fabric, shape, and size, so every wrap can be completely unique.
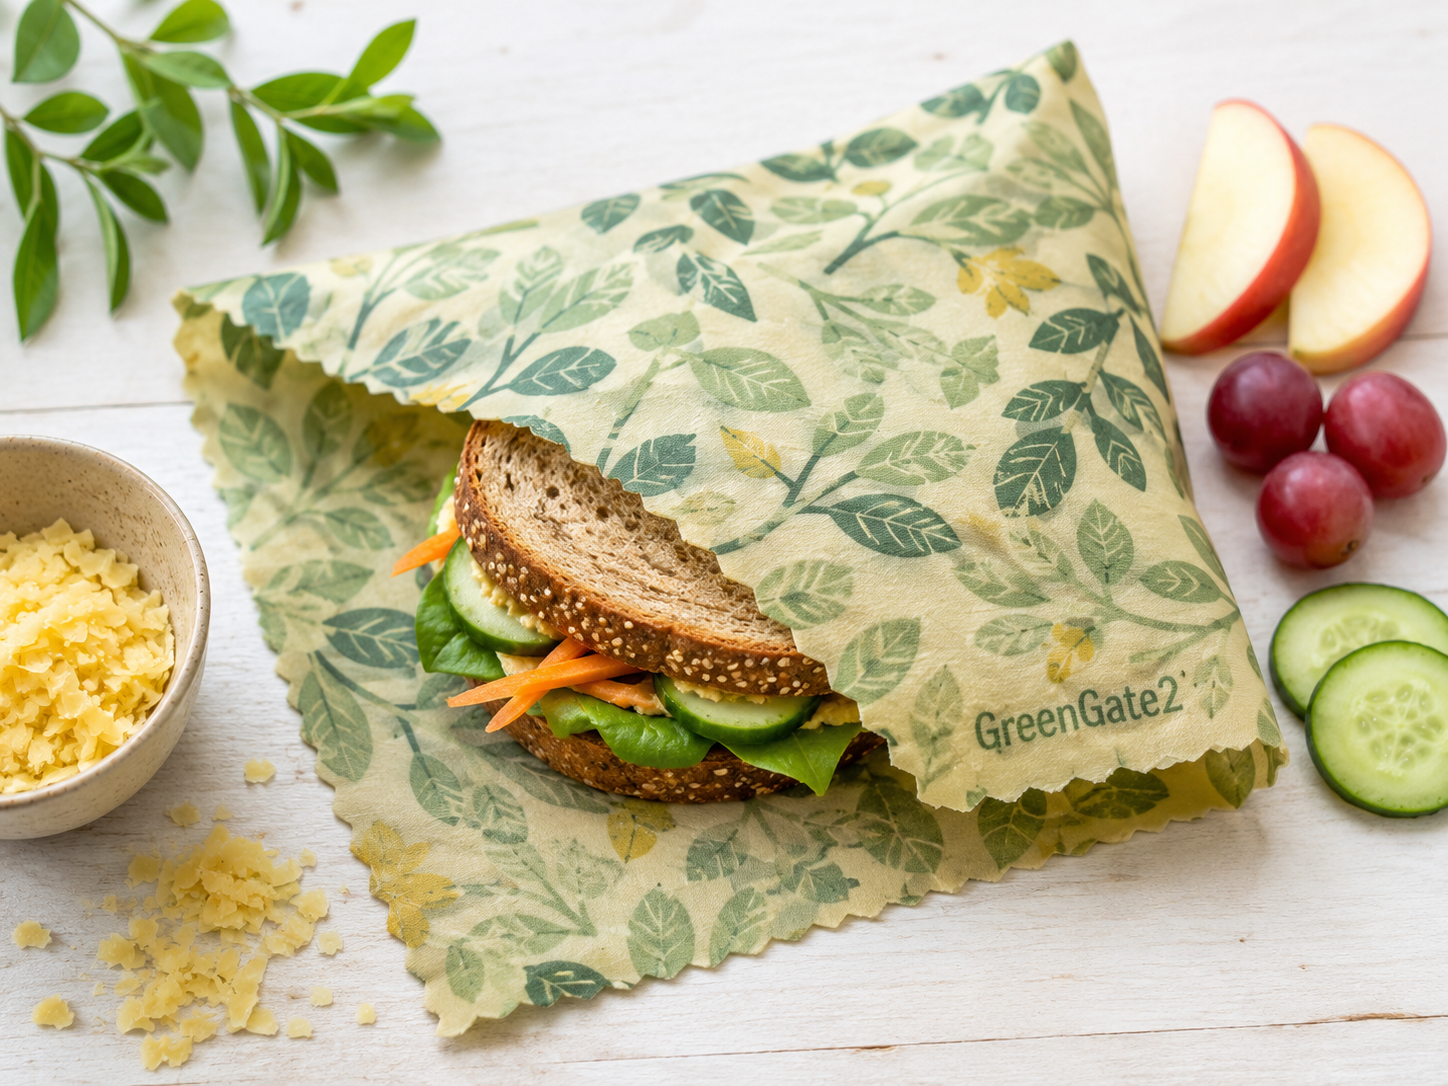
Source: AI-generated (ChatGPT, OpenAI)
Which wax should you use?
The easiest option is beeswax. It melts well, adheres nicely to the fabric, and becomes flexible when warmed in your hands.
You can also use plant-based waxes, such as candelilla wax or carnauba wax. These waxes are harder, so the finished wrap may be less flexible. They’re often combined with softer ingredients to improve pliability.
GG tip: Always choose pure wax without added dyes or fragrances, and make sure it’s suitable for food contact. Wax intended for candle making may not be food-safe.
What will you need?
- 100% cotton fabric, preferably lightweight and tightly woven
- Beeswax or a suitable blend of plant-based waxes
- A grater (if your wax isn’t already in pellets or flakes)
- Baking paper and, optionally, a silicone baking mat
- An iron
- Scissors or pinking shears
GG tip:
- For a 20 × 20 cm (8 × 8 in) wrap, you’ll need about 1 level tablespoon of wax (approximately 6–10 g).
- For a 30 × 30 cm (12 × 12 in) wrap, use about 2 level tablespoons (approximately 15–20 g).
Do you have to use baking paper?
If you’re using a silicone baking mat, you don’t need baking paper underneath the fabric.
However, always place a sheet of baking paper on top of the fabric. It protects the iron from melted wax and helps distribute the wax evenly across the fabric.
If you’re not using a silicone mat, place baking paper both under and over the fabric.
✨ How to make it
- Prepare the fabric. Wash the fabric, let it dry, and iron it. Don’t use fabric softener, as it may reduce the fabric’s ability to absorb the wax.
- Cut out your wrap. A 20 × 20 cm or 30 × 30 cm wrap is a great size for snacks. It doesn’t have to be square—you can also make it round, oval, or even heart-shaped.
- Finish the edges. Use pinking shears to reduce fraying, or sew the edges by hand or with a sewing machine. Do this before applying the wax.
- Sprinkle on the wax. Place the fabric on baking paper or a silicone baking mat. Use about 1 level tablespoon of wax for a 20 × 20 cm wrap or about 2 tablespoons for a 30 × 30 cm wrap.
- It’s better to start with a smaller amount—you can always add more later. Too much wax will make the wrap stiff, greasy, and more likely to crack.
- Cover the fabric. Place another sheet of baking paper over the fabric so that it covers the entire surface.
- Iron it. Slowly move the iron over the baking paper until the wax melts and is fully absorbed into the fabric.
- Touch up dry spots. If any areas remain dry, sprinkle on a few more wax flakes and iron again.
- Remove excess wax. If you’ve used too much wax, place a clean piece of cotton fabric over the wrap and iron again. The excess wax will be absorbed into the extra fabric.
- Work safely. An adult or an older participant should handle the iron. Younger makers can help choose the fabric, cut it into shape, and sprinkle on the wax.
- Let it cool. Carefully lift the wrap and let it cool for a few minutes. The wax hardens quickly, and your eco wrap is ready to use.
How does a wax wrap work?
Press the wrap gently around your snack, bowl, or container with your hands for a few seconds. The warmth of your hands softens the wax just enough for the fabric to mould to the shape. As it cools, the wax hardens again, helping the wrap stay in place.
How do you care for it?
Wash the wrap by hand in cold or lukewarm water. You can use a small amount of mild dish soap and a soft cloth or sponge.
Let it air dry completely, then fold or roll it up and store it in a dry place.
Do not put it in the washing machine, dishwasher, microwave, or conventional oven.
Avoid hot water, as it can melt the wax coating.
What shouldn’t you use it for?
Don’t use a wax wrap for raw meat. These foods may contain microorganisms, and the wrap can’t be safely cleaned with hot water.
It’s also not suitable for very hot, liquid, or extremely greasy foods.
How long does it last?
With proper care, a wax wrap can last about six months to one year, depending on how often you use and wash it.
Over time, the wax coating may become thinner, develop cracks, or stop holding its shape as well. There’s no need to throw it away, though. Simply add a little more wax and iron it again between two sheets of baking paper.
Stop using the wrap if it develops an unpleasant smell, shows signs of mould, or can no longer be cleaned properly.
GG tip: Let your creativity shine! Make a whole collection of wraps in different sizes—for snacks, bread, bowls, jars, and other food containers. 🙂

0 Comments